Step-by-step guide to configure SPF, DKIM, and DMARC records.
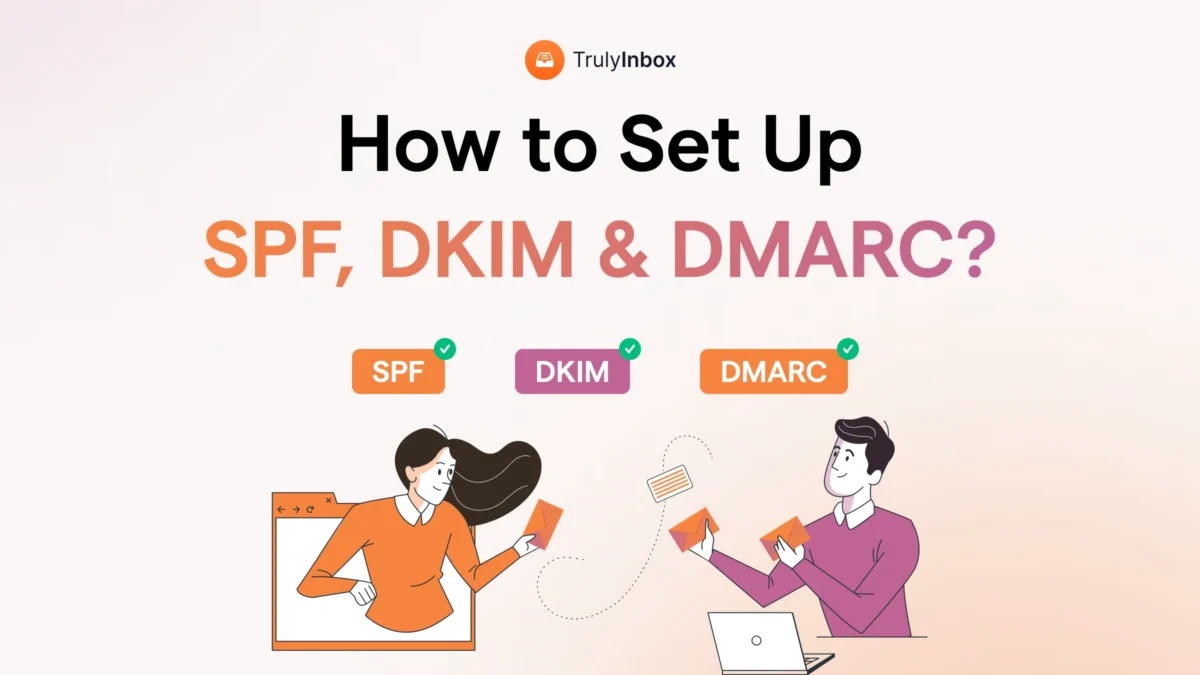
Are you ready to enhance your email security and deliverability? Delving into the realm of SPF, DKIM, and DMARC records is a surefire way to protect your domain against spoofing and phishing attacks. This step-by-step guide will walk you through the configuration process, ensuring your emails reach their intended recipients without falling into the dreaded spam folder.
Configuring SPF records is your first line of defense, specifying which mail servers are authorized to send emails on behalf of your domain. We’ll guide you through creating a policy that helps prevent unauthorized use of your domain. Next, DKIM comes into play, offering an encryption key and digital signature that verify the email’s authenticity and integrity.
Finally, establishing DMARC records ties the knot by leveraging both SPF and DKIM. This protocol provides instructions to receiving servers on how to handle emails that don’t pass authentication checks. The focus isn’t just on setting up these records; we ensure you understand their synergy for a robust email authentication strategy. Stick to this guide and take a major leap towards securing your email communications.
Establishing SPF Records: Your First Line of Email Authentication
Understanding SPF:
- Sender Policy Framework (SPF) is an email authentication method that specifies the servers authorized to send emails on behalf of your domain.
- Preventing email spoofing, SPF helps cut down on spam and safeguards your domain’s reputation.
Setting Up SPF Records:
- Identify all outgoing email sources for your domain, including your own mail server, third-party email service providers, and any others used for sending emails.
- Create your SPF record in the Domain Name System (DNS) as a TXT record. An example record might look like: “v=spf1 include:_spf.google.com -all” for a domain using Google Workspace for email.
- Test your SPF record using online tools like MXToolbox to ensure it’s set up properly and recognized by other email servers.
DKIM Keys: Ensuring Message Integrity and Authenticity
How DKIM Works:
- DomainKeys Identified Mail (DKIM) uses digital signatures to verify that an email message was not altered during transit and that the sender is legitimate.
- Email integrity is maintained by embedding a digital signature within the message header, which recipient servers verify using your public key published in DNS.
Configuring DKIM Key:
- Generate a DKIM key pair – a private key for your mail server and a public key for others to verify your signatures.
- Add your DKIM public key to your DNS as a TXT record. Follow the format suggested by your email server or service provider.
- Enable DKIM signing on your mail server to attach a unique DKIM signature to each outgoing email header.
- Verify your setup by sending tests to DKIM validators such as email-test.had.dnsops.gov to ensure your emails are properly signed.
Setting Up DMARC Policy: Protecting Your Domain Reputation
Understanding DMARC:
- Domain-based Message Authentication, Reporting, and Conformance (DMARC) builds on SPF and DKIM, providing instructions to receiving servers on how to handle emails failing authentication.
- DMARC policies enhance the trustworthiness of your email ecosystem, improving deliverability and protecting against phishing attacks.
Implementing a DMARC Policy:
- Determine your DMARC policy: Decide whether to monitor emails (p=none), quarantine them (p=quarantine), or reject them outright (p=reject).
- Create a DMARC TXT record within your DNS settings. A basic record might look like: “v=DMARC1; p=none; rua=mailto:postmaster@yourdomain.com” which signals to monitor and report.
- Monitor reports sent to the designated email address to identify legitimate sources and update your SPF/DKIM configurations accordingly.
- Tighten your policy over time as you become more confident in your SPF and DKIM settings, progressing towards a “reject” policy for maximum security.
Continuous Monitoring and Adjusting Your Email Security Protocols
Email security is never a one-time task. As you manage your domain, consider our professional ICT security solutions for enduring protection. By continuously monitoring and tweaking your SPF, DKIM, and DMARC configurations, you stay ahead of cyber threats.
Real-world Implementation: SPF, DKIM, and DMARC in Action
When you’ve successfully set up your email authentication records, your domain is shielded against impersonation. For corporations and organizations, this isn’t just about discouraging spam—it’s about preserving trust and confidentiality in digital communications. Imagine your relief when your clients recognize that all communications from your domain are verified and, therefore, reliable.
Maximizing the Value of Proper SPF, DKIM, and DMARC Configuration
Remember, authenticating your emails with SPF, DKIM, and DMARC not only secures your business communications but also significantly boosts your professional image. Enlist the support of experienced ICT experts, like Flexamedia, to ensure your WordPress webhosting is fortified with the right security measures. Let the trust in your brand grow as your emails reliably reach your audience, free from the clutches of cyber threats.
By carefully crafting these email security protocols, you not only safeguard your business communications but also strengthen your brand’s digital presence. With cyber threats lurking around every corner, a step-by-step approach to configuring SPF, DKIM, and DMARC is an investment in reliability, trustworthiness, and ultimately, your business’s success.
FAQ: Step-by-step guide to configure SPF, DKIM, and DMARC records
1. How do I start with setting up SPF for my domain?
Setting up SPF (Sender Policy Framework) starts with you kicking back at your desk with a fresh cup of joe. Dive into your domain’s DNS settings – typically found where you registered your domain or where your hosting is managed. You’ll want to create a new TXT record. Here’s the juicy part: add the record value as ‘v=spf1 mx ~all’ if you’re just starting out. This tells the world that emails from your domain come from your mail server and that any others should be eyed with suspicion.
2. What’s the process for integrating DKIM for email authentication?
For DKIM (DomainKeys Identified Mail), you need to generate a public/private key pair – imagine it’s like your secret handshake with email servers. You pop the public key into your DNS as a TXT record, while the private key stays with your email server, kind of like keeping your house key on you at all times. When you send an email, your server attaches a digital signature using the private key, and receiving servers check it against the public key in your DNS. They match? Voilà! Your email’s authenticity is verified, as if by magic.
3. Can I configure DMARC by myself?
DMARC (Domain-based Message Authentication, Reporting, and Conformance), your final boss, can definitely be a solo mission. Create a new TXT record in your DNS settings and start with a policy like ‘v=DMARC1; p=none; rua=mailto:your@email.com’. This line of code is like setting a tripwire; if someone is pretending to be you, you’ll get a report. As you get more comfortable, you can tweak your policy – ‘none’ to ‘quarantine’ or even ‘reject’ to lay down the law on imposters.
4. What are common mistakes to avoid when setting up SPF, DKIM, and DMARC?
A classic blunder is making typos in your DNS records – it’s like misspelling your own name at a coffee shop; embarrassing and confusing. Also, don’t set a DMARC policy to ‘reject’ right off the bat – you could end up in email jail with your legitimate messages. Start with ‘none’, test the waters, and adjust as you learn the ropes. Lastly, remember to add all your mail servers to your SPF record; leaving one out is like forgetting a friend at a party – not cool.
5. How long does it take for SPF, DKIM, and DMARC to propagate?
Patience, young Jedi – DNS propagation can be as quick as flipping a light switch or as slow as molasses. Usually, you’re looking at up to 48 hours for the changes to make the global rounds. Meanwhile, you can use online tools to check if your records are strutting their stuff on the internet catwalk or still getting ready backstage.